How to modify Git commits with interactive rebase
How to modify Git commits with interactive rebase
Especially in environments where code review is heavily applied, we need to modify previous commits. In order to do this, we should use interactive rebase. In this article, I will explain with a simple example how we can rewrite history using interactive rebase.

First, let’s create a working environment from scratch.

Figure 1 – Terminal – Create directory and initalize git
I created a new directory and initialized git. Now, I will create a text file and make modifications by using a text editor.
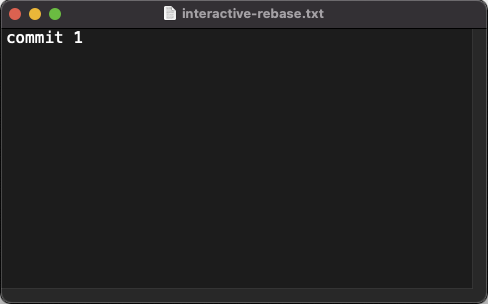
Figure 2 – Text editor – Add first line

Figure 3 – Terminal – First commit
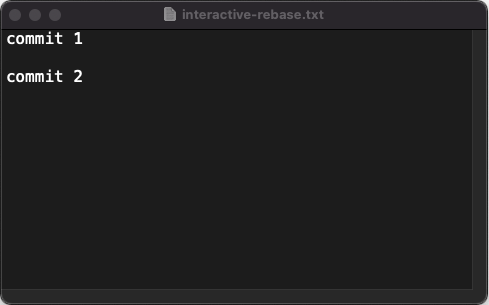
Figure 4 – Text editor – Add second line

Figure 5 – Terminal – Second commit
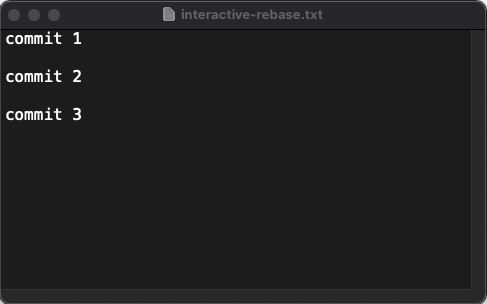
Figure 6 – Text editor – Add third line

Figure 7 – Terminal – Third commit
I created a file called interactive-rebase.txt and made changes with 3 different commits.
Currently the git log looks like this:

Figure 8 – Git tool – Git log after commits
When I need to make changes in the second commit, I run the interactive rebase command by specifying how many commits we want to go back to.
$ git rebase -i HEAD~2
When I run this command, “git-rebase-todo” file will be created with the last two commits.
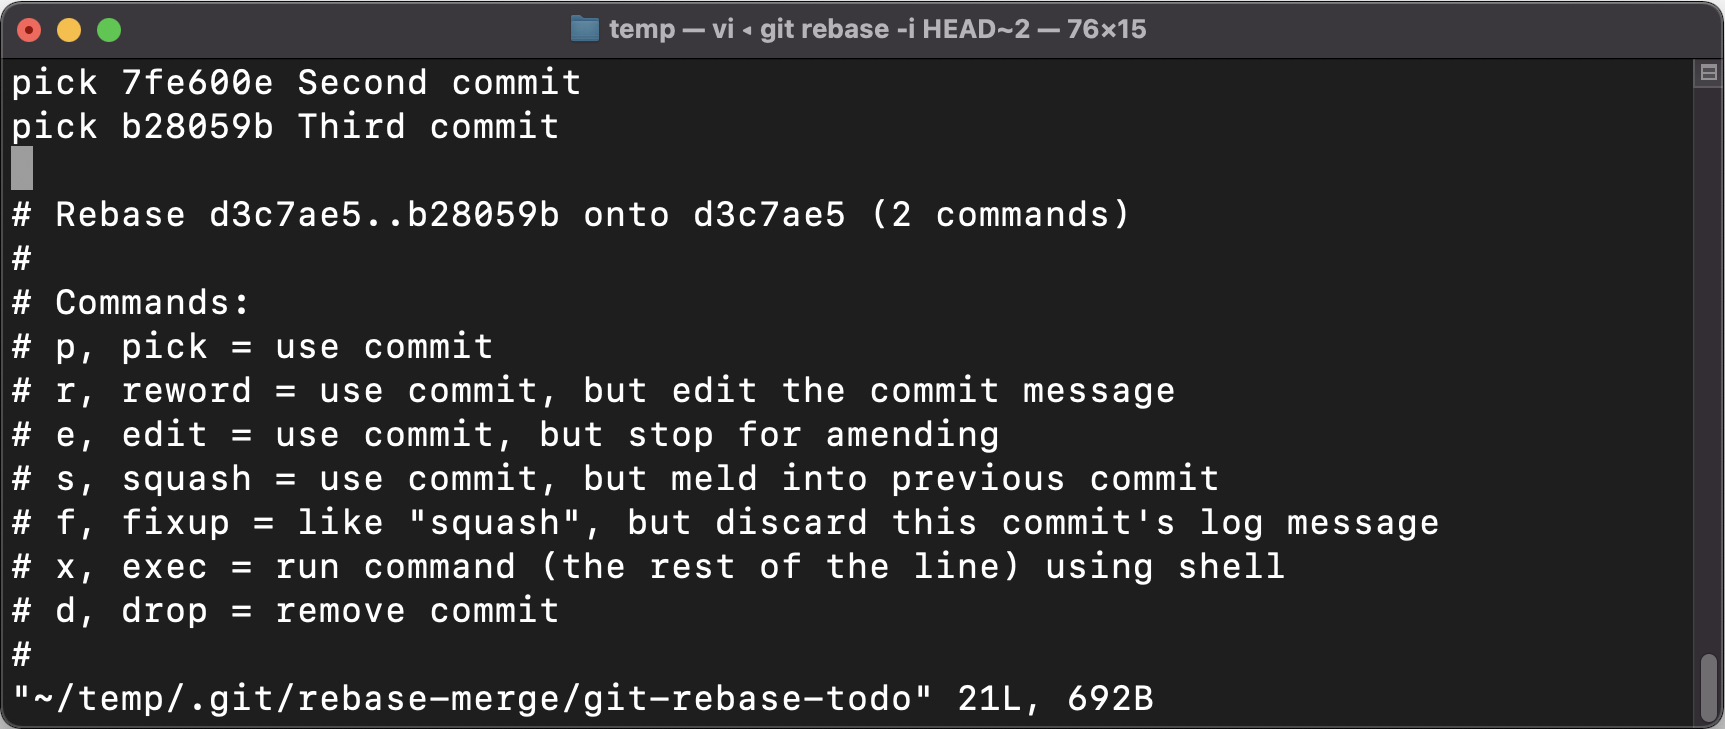
Figure 9 – Text editor – Initial git-rebase-todo file
By editing this file as necessary, I declare which change I want to make in which commit. Since I want to make changes in the second commit, I save the file by replacing the “pick” text at the beginning of the second commit with “edit” (other options can be found below).
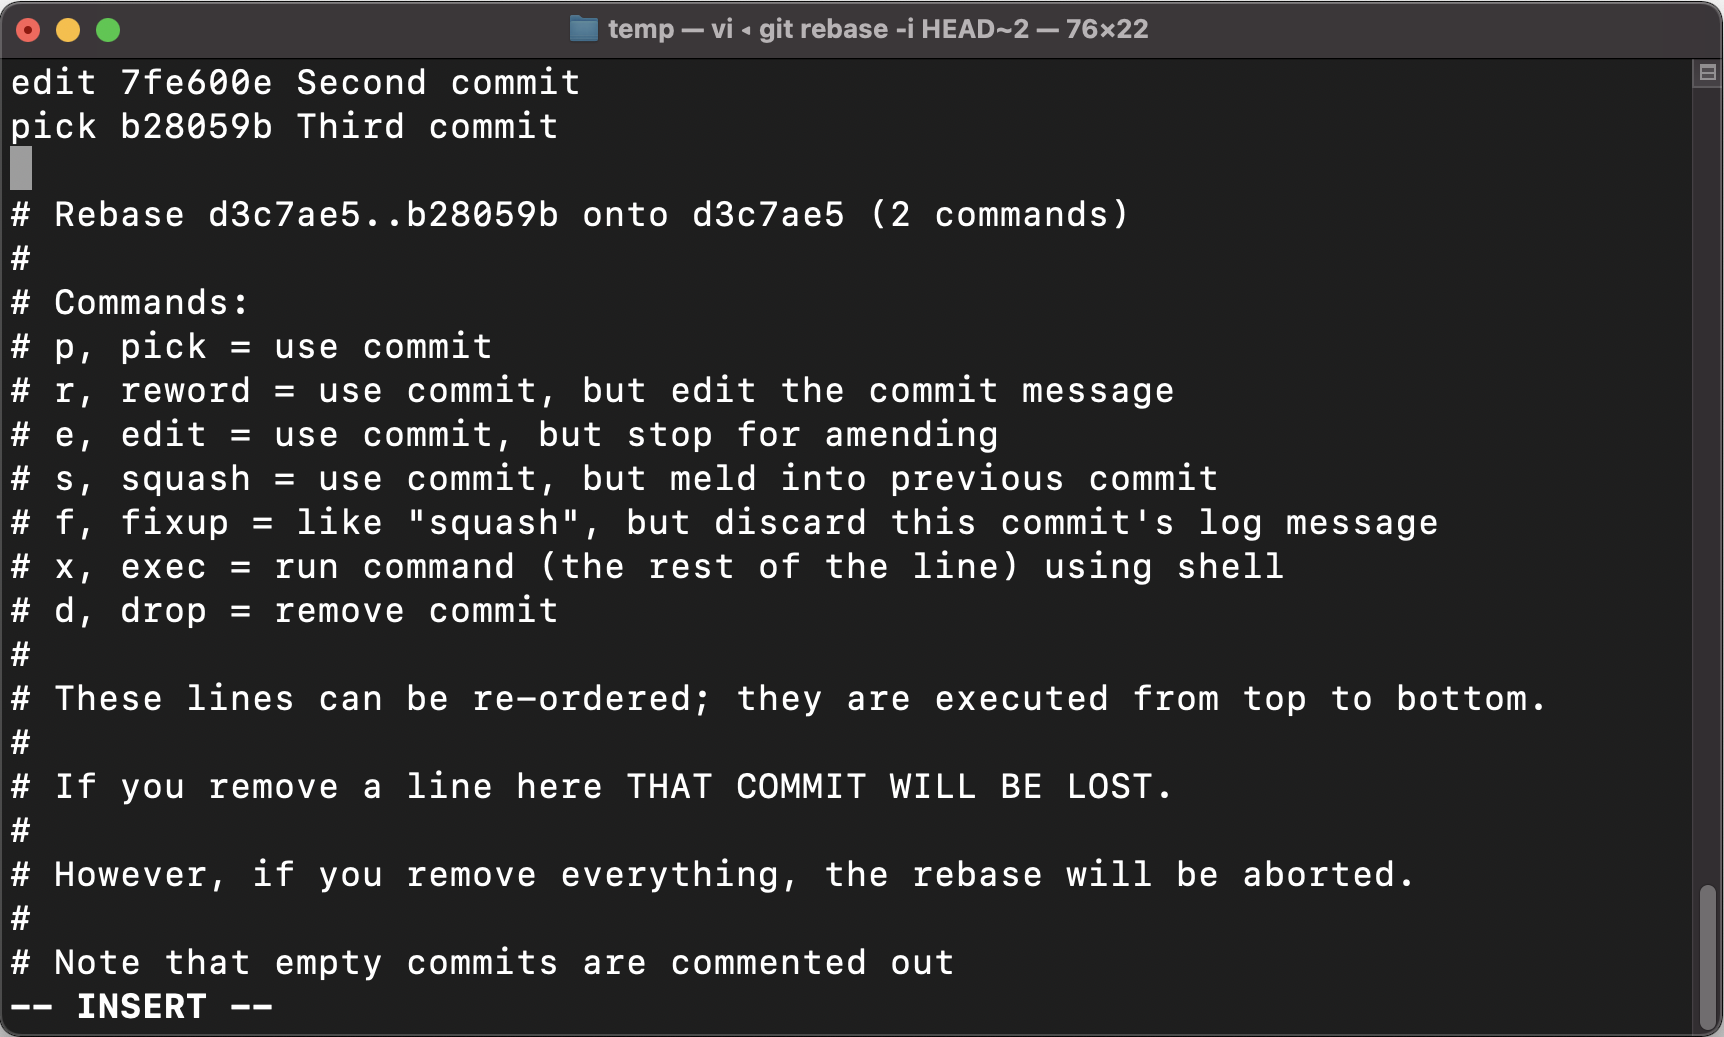
Figure 10 – Text editor – Modified git-rebase-todo file
After making changes to this file and saving it, I start the rebase process. If I check the git status, I see the ongoing rebase process.
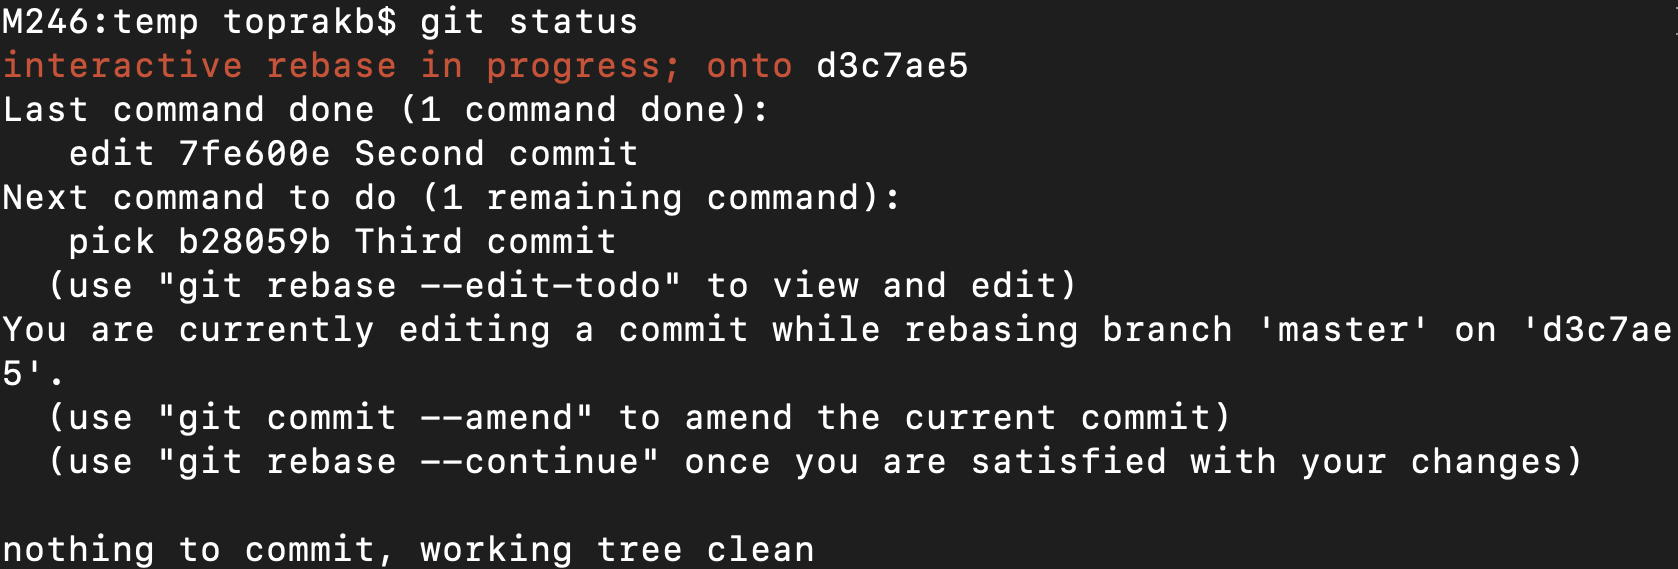
Figure 11 – Terminal – Git status after starting rebase
When I check the file status, I observe that it is in the state after the second commit.

Figure 12 – Text editor – File status after starting rebase
Now let’s make changes to the file.
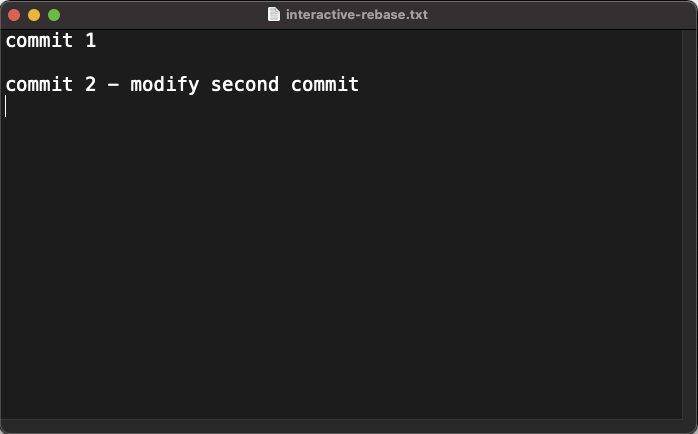
Figure 13 – Text editor – Modify second line

Figure 14 – Terminal – Commit modified line
I made change in the relevant commit. This time I used “commit –amend” because I don’t want to create a new commit. Now is the time to rewind time.

I can go to the next edit point with the command “git rebase –continue“. Since I selected only one commit while editing the “git-rebase-todo” file, another commit will not be stopped and the next 1 commit will be applied, and will return the git status before the rebase process.
$ git rebase --continue
Successfully rebased and updatedrefs/heads/master.

Figure 15 – Terminal – Git status after completing rebase
Let’s check status of file.
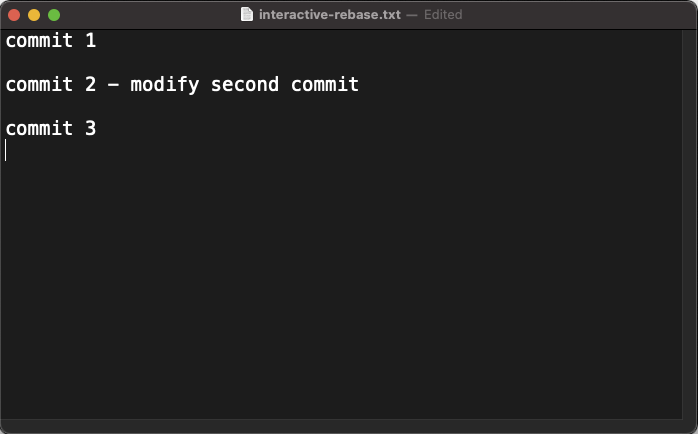
Figure 16 – Text editor – File status after completing rebase
Let’s check the log.

Figure 17 – Git tool – Git log after completing rebase
I edited the second commit successfully and everything is as I wanted. It should be noted that there may be conflicts with the changes made during the rebase and it should be continued by solving them.
Reading Time: 3 minutes
Don’t miss out the latestCommencis Thoughts and News.


